Veröffentlicht in Allgemein, DoItYourself, Food, Hobbies

How to make the tastiest tiny Pizzas of all time

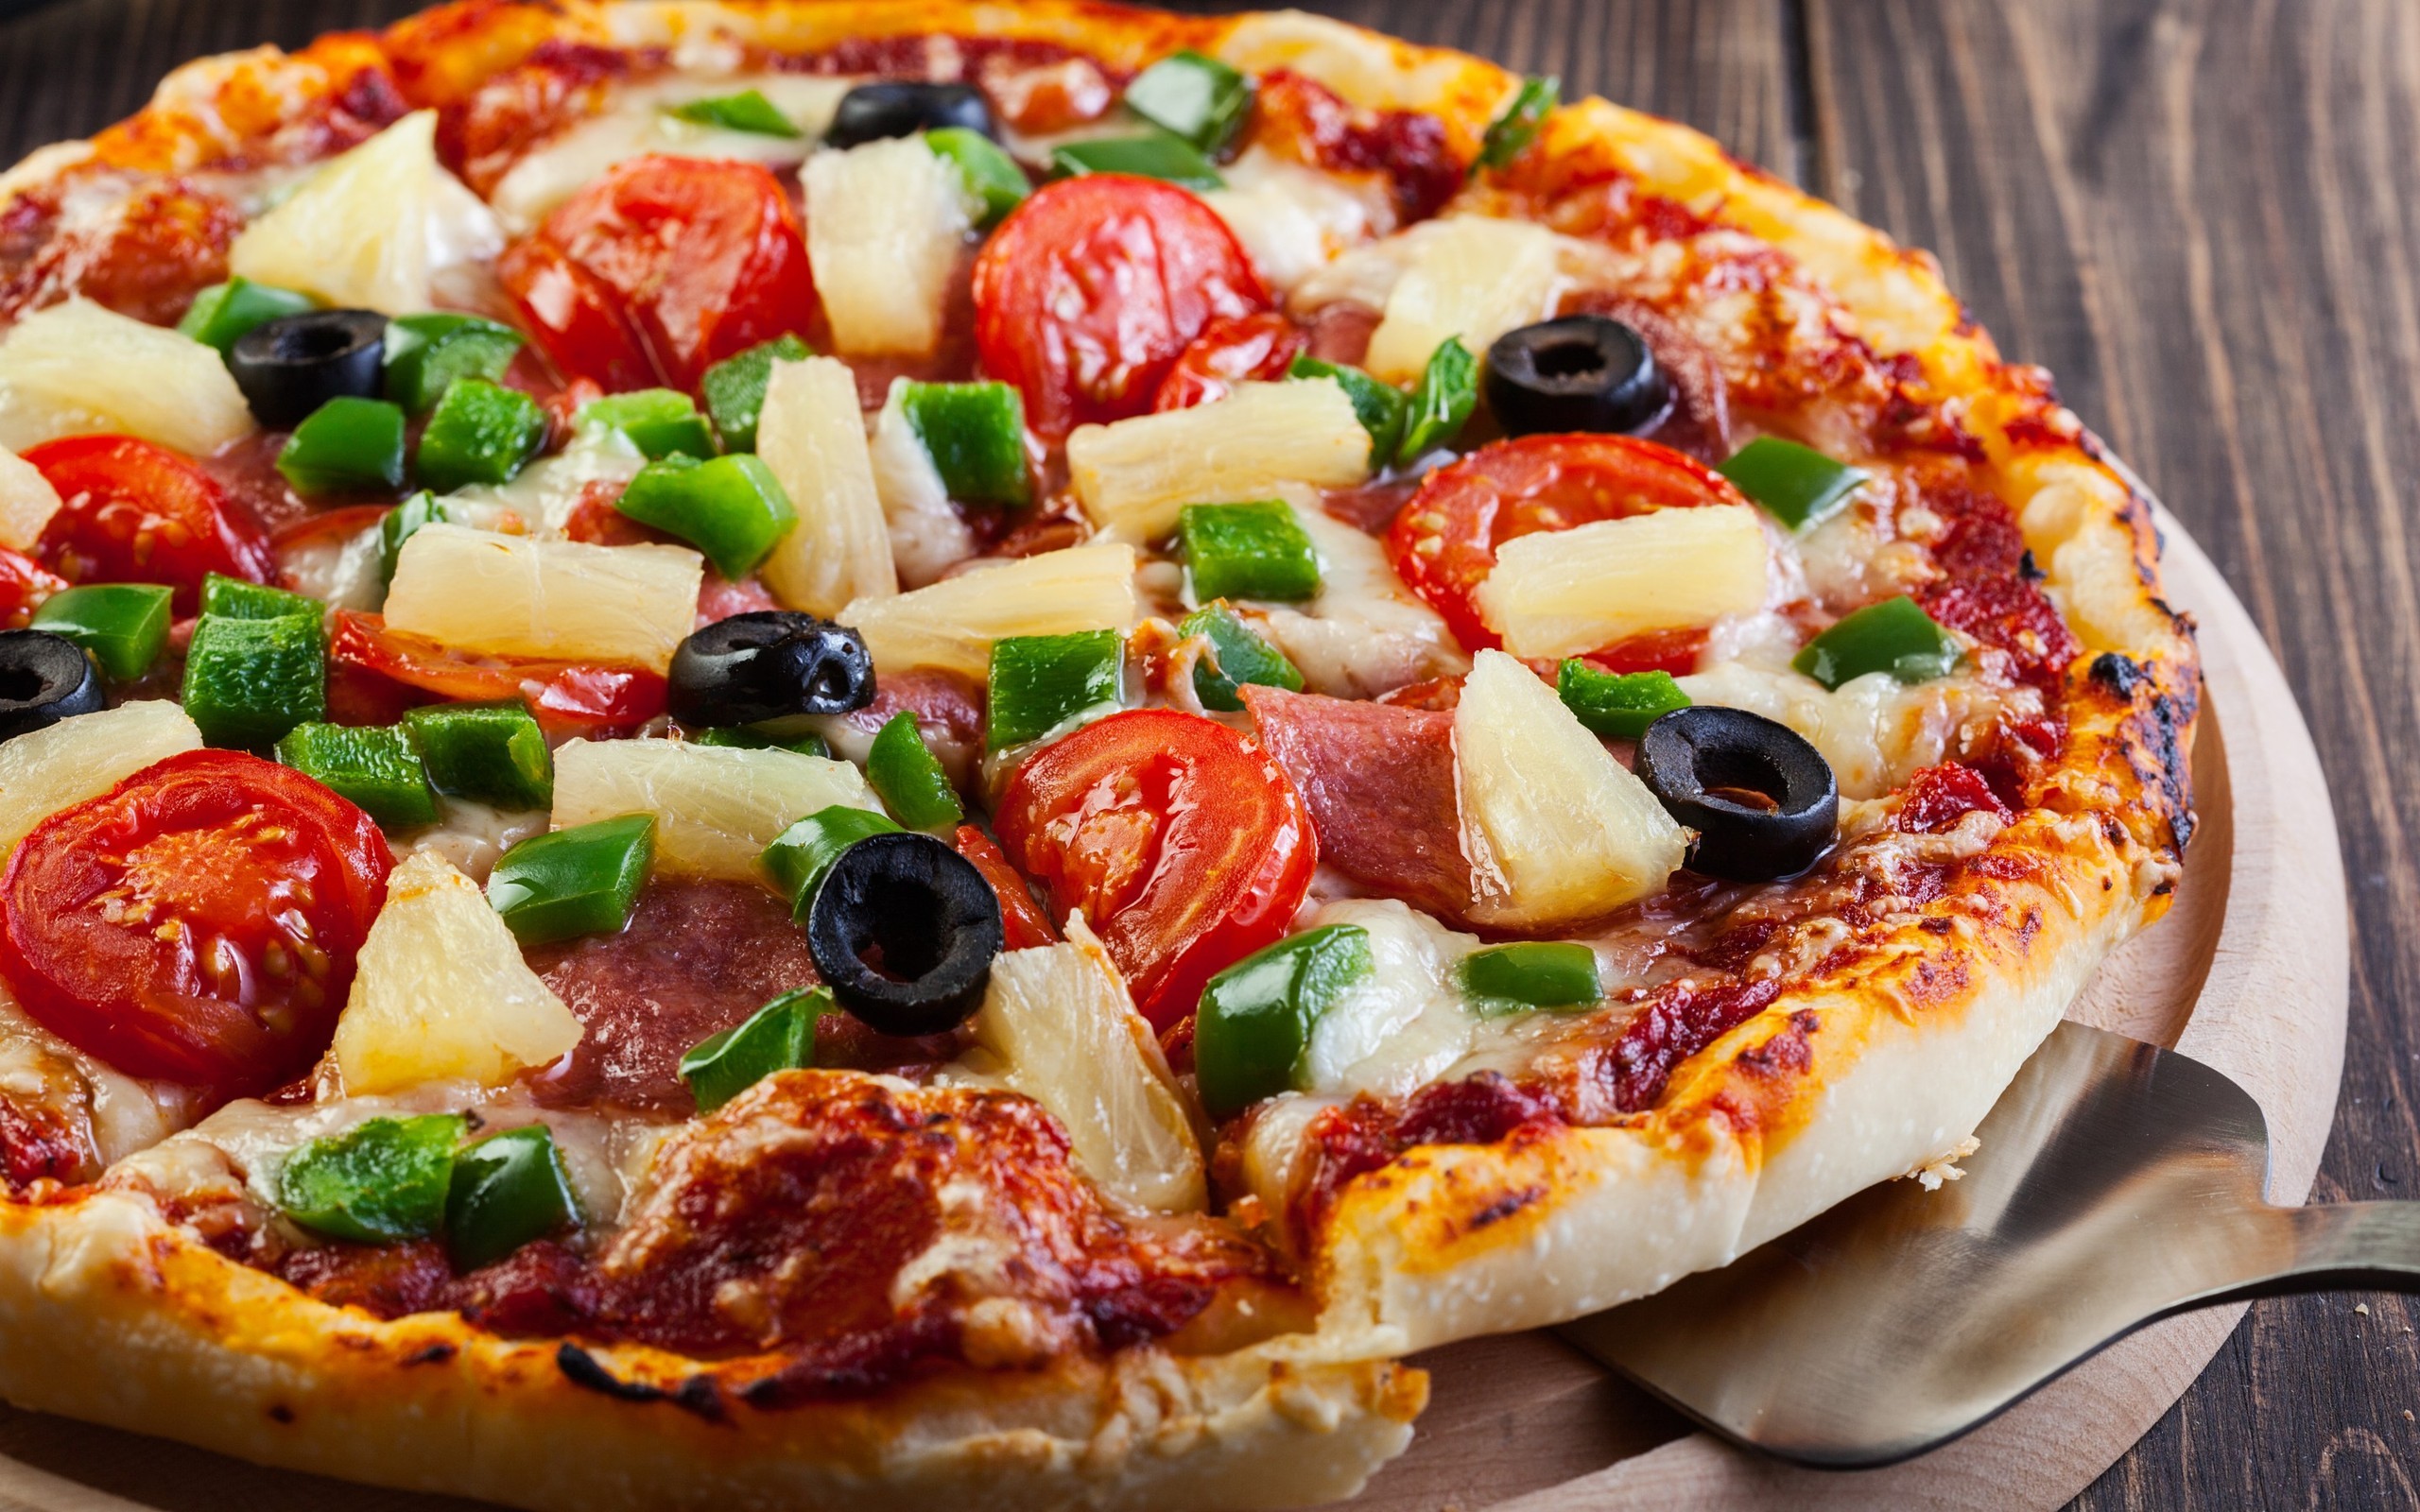
Hey what’s up guys? This is Lisa and today we’re making tiny pizzas! I don’t know if you read my last blog “How to make the most delicious Lemon Soufflés of all time” but before your mouth is watering, there are a few tips how to make the pizzas:

l2
Yummy!
  • You definitely don’t have to put the same toppings on your pizzas as I do, because the more variations you have, the better!
  • These pizzas are great for a party snack, a light lunch or a quick supper, because they are so small and also easy to make!
  • Have fun!!!

Ingredients

For the tomato sauce:

  • 2 Gloves of garlic
  • 1 tablespoon olive oil
  • 400g can chopped tomatoes
  • 2 tablespoons tomato puree
  • 1 pinch caster sugar
  • ½ teaspoon dried oregano

For the pizza bases:

  • 225g self-raising flour
  • ½ teaspoon baking powder
  • 150ml milk
  • 1tablespoon olive oil

For the toppings:

  • 75g cheese such as Cheddar or mozzarella (optional)
  • Use any toppings you want (sliced tomatoes, ham, sliced mushrooms, black olives, pineapple…)

You will also need a large bakery tray and an 8cm round cutter

How you do it

First we make the tomato sauce. Crush the garlic into a saucepan. Add the oil, sugar, tomatoes, tomato puree, oregano, a pinch of salt and some pepper. Put the pan over a medium heat and cook for 15 minutes, stirring often, until it is very thick. Leave it to cool down. Now heat the oven to 200°C. For the pizza dough sift the flour and baking powder into a big bowl then add milk and the oil. Mix and pat the dough into a ball. Sprinkle some flour on the work pit roll out the dough until it’s thinner than your little finger. Next prick out circles and spread tomato sauce over them. After this, slice the cheese and put it together with the other toppings on the dough. Bake the raw pizzas until the cheese is bubbling. Then scatter over any fresh herbs or rocket and your mini pizzas are done!! Yummy!!!!!!

Veröffentlicht in Allgemein, DoItYourself, Food

How to make the most delicious Lemon Soufflés of all time

Hi, my name is Lisa and I’m 12 years old. My hobbies are baking and cooking, so today I am writing about a DIY recipe you can easily try at home! I know what you think. No, you don’t have to be a confectioner to cook this recipe! J

First of all a few tips when you try to make this recipe:

  • Please don’t be disappointed, if it doesn’t work the first time, the second time it will work, I promise you!!
  • You do not have to put in the exact amount plenty of ingredients in the cake, but it shouldn’t be far away from the original indication of quantity!!
  • The most important thing -> Make sure that you have a lot of fun baking the Soufflé

Ingredients

  • 8 lemons (caved)
  • Lemon juice (of the 8 caved lemons)
  • 3 egg yolks
  • 3 egg whites
  • 1 cup of flour
  • 2 cups of sugar
l3
Delicious!

How to do it

First you have to make the dough. For this cave out 8 lemons. Mix the lemon juice with a cup of flour, 3 egg yolks and a cup of sugar. Put this bowl on a pot with boiling water and whisk until the mixture is thickened. Now whisk again until the muddle is cooled down and then transfer it to a clean bowl. Take another bowl and mix the 3 egg whites with the second cup of sugar. Beat until it gets a soft form then add 1/3 of the meringue to the first mixture. Next, fill it in the lemons and bake it 350°F/175°C for 14-17 Minutes. And when you have this, your most delicious Soufflé of all time is ready! 🙂

Veröffentlicht in Allgemein, DoItYourself

Life Hacks: Pocket Money

Hey guys, I’m Kathi, I’m 13 years old and I like writing poetry,singing and of course: Shopping. And this is my topic for today: Money.

I think that everyone has already experienced the situation when you need some money but your parents don’t want to give you some. So here’s my lifehack for you. Although it won’t work for a longer period of time but you can get very much money within very short time.

First of all, tell your parents that you want to change your pocket money system. Tell them to give you one cent this day. The next day you want to get 2 cent, the day after 4 cent, then 8 cent and so on. You simply double the money you got the day before.

Maybe you think now that it will take ages to get 20 € but it goes faster than you think. Let me show you here: 2€ -> 4€ -> 8€ -> 16€ -> 32€

So you can even get more than 1 000€ within some months.

If your parents don’t want to pay it to you after a special point of time then you should make a good agreement.

I hope I could have helped you !

Yours,

Kathi

Veröffentlicht in Allgemein, DoItYourself, Food, Hobbies

NUTELLA CUPCAKES

Hey there ! I’m Debby and this is my first time blogging  . We are a school in Vienna and this blog is a class project . Since I really have a passion for CUPCAKES my first draft I share is about NUTELLA CUPCAKES.

SO HERE IS THE RECIPE :

dIngredients for 12 cakes :

  • 50g of grated hazel-nuts
  • 100g of flour
  • 25g coco powder
  • 125g refined sugar
  • Pinch of salt
  • Half a teaspoon of backing powder
  • 140g butter
  • 2 eggs
  • 2-5 teaspoons of milk

For the TOPPING :

  • 100g butter
  • 150g nutella
  • 200g powder sugar
  • 1-3 teaspoons of milk

HOW  TO :

Put grated hazel-nuts  , sugar , sifted flour  , pinch of salt and backing powder in a bowl  . Mix these with a spoon  . Now add the butter  , eggs and milk and mix  . If more milk needed you are free to add until the dough is the right consistency it should  be smooth . So now it’s time to get your dough into the cake pan in which you first put  your cupcake parchments . Preheat oven to 175°C  and bake the cakes for 15-20 minutes until they are   baked through.  NOW  LET YOUR CAKES COOL !

For the topping put the softened butter and the nutella in a bowl and mix about a minute. Now add the powder sugar and mix until fluffy  . Add the milk . Getting the perfect topping isn’t as easy as you might think  so here are a few DO’S AND DONT’S  for a topping:

  1. Do NOT put the topping on your cakes when they are still warm . If you do , then it will melt. So make sure you really let them cool of !
  2. DONT let the topping get to warm or you cant put it on the cakes . If you do the topping to early , put it in the fridge and wait until the cakes are cooled  . But don’t leave the topping in the fridge for too long or it gets to hard .

Making a topping is NOT that easy as you can see !

YOU CAN DECORATE YOUR CAKES IN SO MANY DIFFERNT WAYS  .

I do it with a piping bag and it gives it a real professional look  .

Have fun trying out the recipe and if you liked  it then leave a comment !

Yours,

 CUPCAKE PASSION

Veröffentlicht in Allgemein, DoItYourself, Pets

Tortoises

Hi I’m Xandi and I really like tortoises and turtles.

Many people like tortoises, some not! I really like tortoises and turtles. In this article, I want to show you

  1. My 5 favorite tortoises and turtles
  2. How to get a tortoise
  3. How to keep a tortoise

My top 5 tortoises/turtles

  1. Hermann’s tortoise! She’s my favorite because my tortoise is also one 🙂

    1
    This is my tortoise
  2. European pond turtle! I like her because she’s black with yellow points 😛
  3. Marginated tortoise! I like her because she is from Greece and Russia
  4. Common box turtle! I like her because she can hide her head under the shield ;P
  5. Red-bellied short-necked turtle! I like her because her name is very nice and her body shape is great!

How to get a tortoise

If you like a tortoise you should be careful!

Sometimes it is not easy to care for them!!!

Like, when the winter comes, it has to go to sleep. That sounds easy but it is very, very hard!

Every single week you must control, if it is still alive and it hasn’t lost too much weight… If you can do this and you have decided to take one, go to an animal store and get informed! After all you can buy your tortoise!

How to keep a tortoise

And now comes the difficult part! You must buy a big cage, a special UV Light, hay, dirt and food.

If you have this, you must fill the cage with dirt. The animal needs some vegetation like plants and a water place. Now you have to place the UV-Light so that the tortoise gets light. It would be perfect if you buy also a warm lamp so that it gets enough warmth too. You have to keep the humidity at 60%. If you have all this, the pet must be fed. Tortoises like ice salad, strawberries (not too much because it can get ill). If you have a baby tortoise, it needs the shell of a sepia because it contains calcium. This is the main information for keeping a tortoise. (=

Thanks for reading.

Veröffentlicht in Allgemein, DoItYourself, Sports

Seven short tips for people who like sports

Hi, I am Clara and today I`m going to give you seven tips about the theme sports. I love sports, especially athletics, playing tennis and horse riding.

  1. Eat healthy and drink enough water while you´re doing sports.
  1. Don´t eat to less, but if you want to do sports do it and then eat, not the other way round!!
  2. If you like to you can stretch before you jog or sprint. (It´s better when you do)
  1. Warm up before you run!!!(you can really hurt if you don´t!!!!)
  1. It is good to join a club for doing sports once or twice a week.
  1. Make sports as often as you can!!! It keeps you fit, strong, flexible and healthy.
  1. Be healthy and don´t do sports when you´re ill!!


So, I hope this tips will help you and keep on being sporty!!!

Veröffentlicht in Allgemein, DoItYourself, Hobbies

DIY Cork Board

I’m Louisa and I love doing DIY projects. I like doing them because it isgreat fun to make new things. I love DIY projects because you can be creative and don’t need to do everything
like they say in the instructions.

I wanted to do a cork board because I need one for my desk at home to pin all the important papers for school. This was my biggest DIY project until now. I like the cork board because it’s really cool and you can pin up like everything on it.

1

Materials:

2• 1 cork board
• 1 piece of fabric a little bit larger than the board
• 1 pair of scissors
• 1 Stanley knife
• glue and a paint brush
• 1 big ribbon
• many pin needles
• papers/pictures to pin up
• 1 stapler

How to:

  1. Take your Stanley knife and cut your cork board any shape and size you want.
  2. Cut your fabric in the the size of the cork board but leave a little excess of about 5 cm on all sides.
  3. Put a tiny bit of glue on your painting brush and spread it all over one side of the cork board. Don’t take too much glue or your fabric will get transparent and won’t look as pretty anymore.
  4. Wait for two minutes (!!!) and put your fabric on your cork board leaving 5 centimetres on each side. Make sure you don’t have any wrinkles or maybe you won’t be able to pin things up later on.
  5. Staple the borders of the fabric to the back of the cork board with the stapler.
  6. Take your ribbon and make a bow. Then take your pin needles and pin
    this ribbon with a bow on your cork board.

I hope you enjoy doing the board as much as I did!
And of course I hope you will find it just as useful as I do 😉
Watch out for my next projects!
I’m looking forward to reading your comments!